Trending

A food drive looks simple from the outside. Put out a box, ask people to fill it, deliver the food. Anyone who has run one knows the work lives in the details: where the bins sit, who counts the cans, how the perishables reach the pantry before they wilt.
A chapel is well suited to this kind of effort. You already have a building people trust, a weekly gathering of willing hands, and neighbors who will answer a straightforward request for help. What you need is a plan, and a checklist that keeps a good intention from turning into a chaotic Saturday. Here is one, roughly in the order you will need it.
Call the pantry or food bank you intend to serve before you print anything. Ask what they actually need this month, not what you assume they need. Some pantries are swimming in green beans and short on rice, diapers, or shelf-stable milk. Ask about capacity, too. A small pantry with one chest freezer cannot absorb two hundred pounds of frozen chicken, and a pantry short on storage may need you to hold donations for a few days.
Then decide what kind of drive you are running. A shelf-stable pantry drive is the easiest to sort and store. A "fill the bag" drive with a specific shopping list produces more usable food than an open-ended request. A fresh produce collection works best in summer, with a short window between pickup and delivery. Each option changes your bins, your volunteers, and your timeline.
Place bins where people already walk, not where the space is empty. Three locations usually cover it: the main entry used on service days, a weekday spot near the office, and one accessible spot for community drop-off if your building is locked most of the week.
What makes a bin work:
Say a gracious no thank you to opened packages, dented or bulging cans, expired items, home-canned or home-baked goods, and anything with a broken seal. Post that short list next to the bin. It spares volunteers an awkward conversation at the door. Food safety requirements vary, so confirm the specifics with your receiving pantry and your local health department before you publicize the drive.
Announcing a drive without a schedule is how you end up sorting alone at 10 p.m. Build the roster first, then publish the dates. Six roles cover most drives:
Keep shifts to ninety minutes or two hours. Shorter shifts fill faster and leave people willing to come back. Give every volunteer a one-page job sheet, and put a phone number beside every name on the schedule.
You do not need a long list of sponsors. You need a few partners who will do one specific thing well. A grocery store might post a flyer or donate sturdy bags. A school might run a classroom competition alongside your drive and combine the haul. A neighborhood association can spread the word to households that never set foot in your building. A local business might host a drop-off bin near its front door.
Make one clear ask per partner, in writing, with the dates and a contact name. Follow up with a thank-you note and a short summary of what the drive collected. Partners who hear the result are far more likely to say yes next time.
If you are handing food out yourself rather than delivering it to a pantry, treat the day like an event with a flow. Set tables with pre-packed bags so people move through quickly. Arrange a one-way path, whether people arrive on foot or by car, and put someone free-roaming near the entrance to greet and answer questions. Offer seating, shade, and water. Have two people at each table so no one works without a break.
If you are delivering to a pantry instead, confirm the delivery window in advance, arrive at the start of it, and ask where they want the food unloaded. Bring a hand truck and your own boxes.
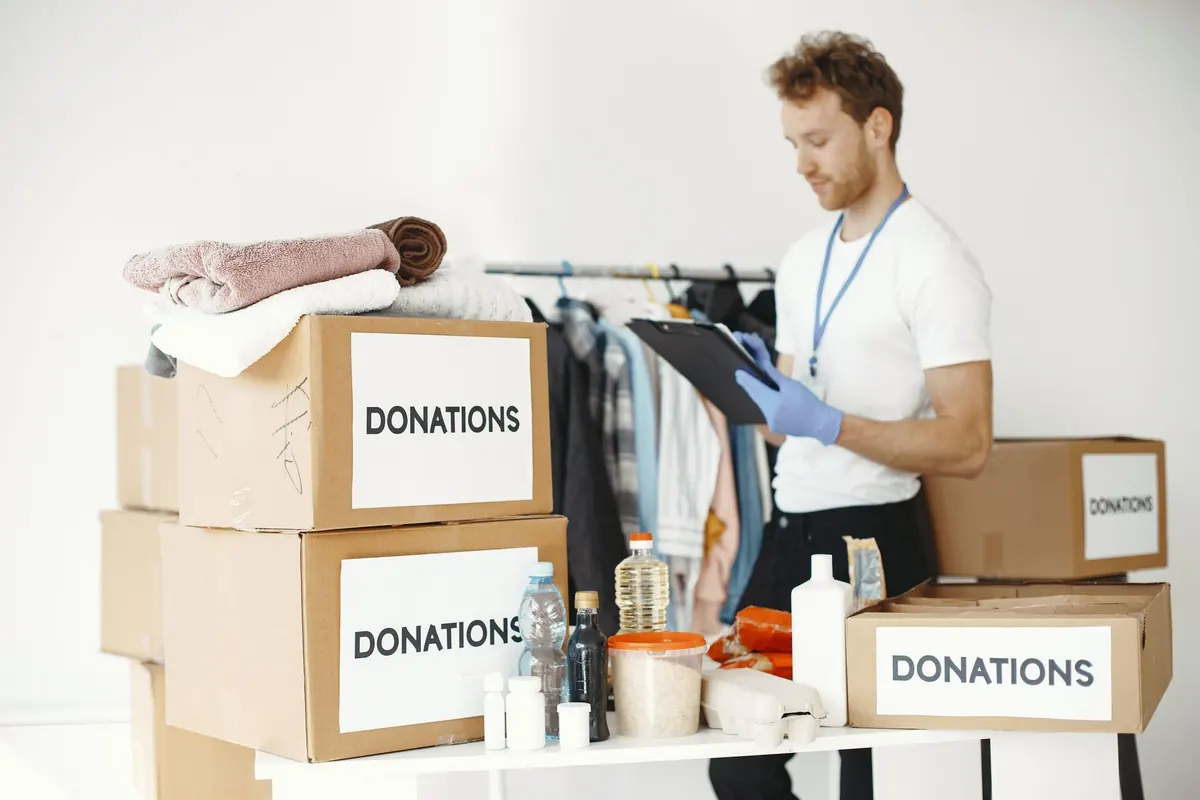
Sort the same day you collect. Group items into simple categories — canned vegetables, canned fruit, protein, grains and pasta, baking supplies, baby items, personal care — and check dates as you go. Set anything questionable aside for the pantry to decide rather than guessing yourself.
Keep food off the floor on tables or pallets, in a dry, cool space away from cleaning chemicals and trash. Pack donations into boxes a person can lift comfortably, and label each box with its contents and the date it was packed. That label is what makes the pantry's job easier, and it is the difference between a donation and a burden.
Within a week of the drive, tell people what happened. Report the numbers plainly, thank volunteers by name, and share a sentence or two from the pantry about how the food will be used. Then gather your core team for thirty minutes and ask three questions: what worked, what fell apart, and what we would do differently. Write the answers down and save the signs, the item list, and the volunteer schedule in a shared folder.
A food drive is not a one-time gesture. It is a habit a congregation can build, season after season, until neighbors know your chapel as the place where the boxes are always ready and the welcome is always warm.
Photo: Gustavo Fring / Pexels